
Key Takeaways
- Removing window tint is a cost-effective DIY project if done with the right tools and techniques.
- Key reasons to remove tint include damage, fading, legal compliance, or personal preference changes.
- Essential tools include a heat gun or hair dryer, razor blade, soapy water, adhesive remover, and protective gloves.
- Methods like applying heat or using ammonia can effectively loosen the adhesive for easy peeling.
- Avoid common mistakes like skipping surface preparation, using excessive force, or neglecting safety measures.
- Proper cleanup ensures streak-free windows, leaving them clear and ready for new tint or a fresh look.
Removing window tint might seem like a daunting task, but trust me, it’s not as tricky as it looks. Whether your tint has started peeling, bubbling, or you’re just ready for a change, tackling this project yourself can save you some serious cash. Plus, there’s something satisfying about rolling up your sleeves and getting it done.
I’ve been there—staring at those stubborn layers, wondering where to even begin. The good news? With the right tools and a little patience, you can strip away that old film without damaging your windows. Let me guide you through the process step by step so you can have your windows looking clean and clear in no time.
Why You Might Want To Remove Window Tint
Damaged tint, like bubbling, peeling, or cracking, often looks unsightly and obstructs visibility. These issues can make driving unsafe, especially in bright sunlight or at night.
Faded tint, which happens over time due to sun exposure, loses its effectiveness in blocking UV rays and heat. If the tint no longer performs as intended, removing it becomes necessary.
Legal compliance is a common reason. Tint laws vary by state, and some tints may exceed legal limits. To avoid fines or failed inspections, removing illegal tint is the best option.
Preference changes, such as opting for a lighter tint or no tint at all, also lead to removal. Personalizing vehicles to match evolving needs or styles makes tint removal essential in such cases.
Tools And Materials Needed
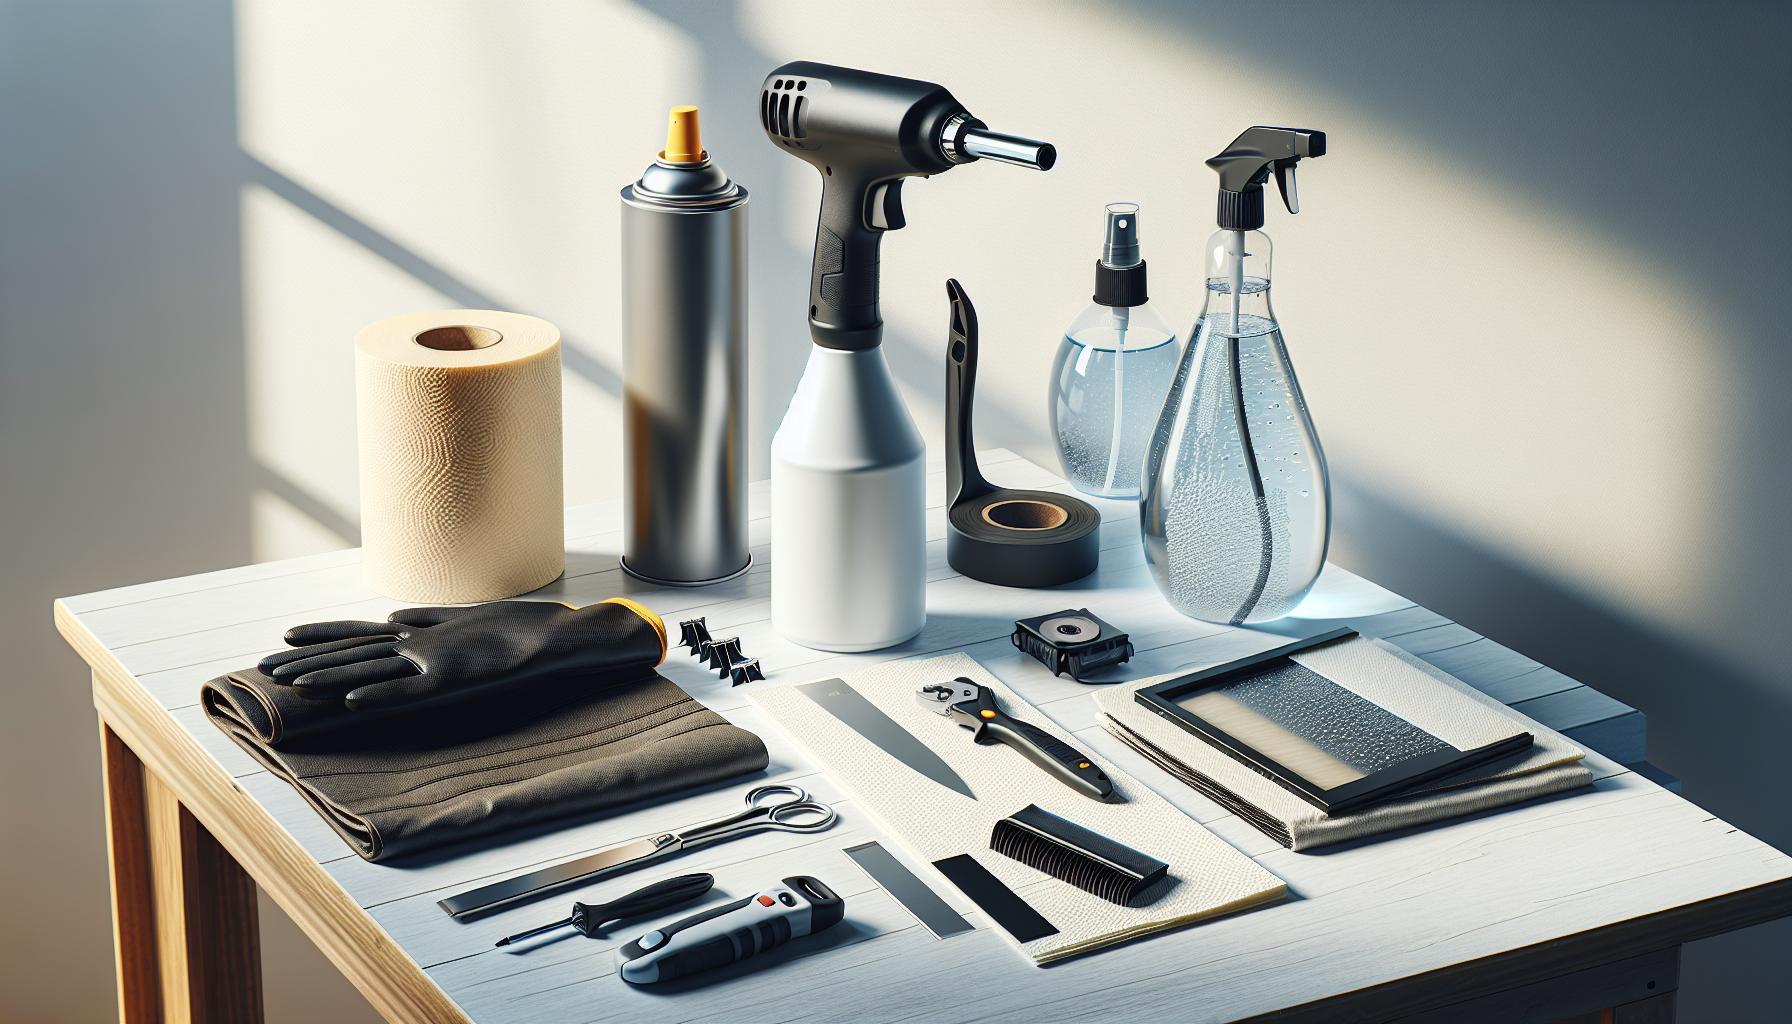
Removing window tint requires specific tools and materials for efficiency and safety. Here’s what I use:
- Heat gun or hair dryer: Softens the adhesive for easier peeling.
- Razor blade or scraper: Removes stubborn residue from the glass surface.
- Spray bottle with soapy water: Loosens the adhesive and helps with cleanup.
- Paper towels or microfiber cloths: Wipes away moisture, adhesive, and debris.
- Adhesive remover or rubbing alcohol: Dissolves any remaining adhesive.
- Protective gloves: Prevent skin contact with chemicals or sharp tools.
- Garbage bag or plastic wrap: Retains heat when using the sun method.
Having these items ready ensures a smoother tint removal process, avoiding unnecessary delays.
Step-By-Step Guide On How To Remove Window Tint
Removing window tint involves specific methods to ensure clean results without damaging the windows. With the right approach, you can efficiently remove the tint and adhesive.
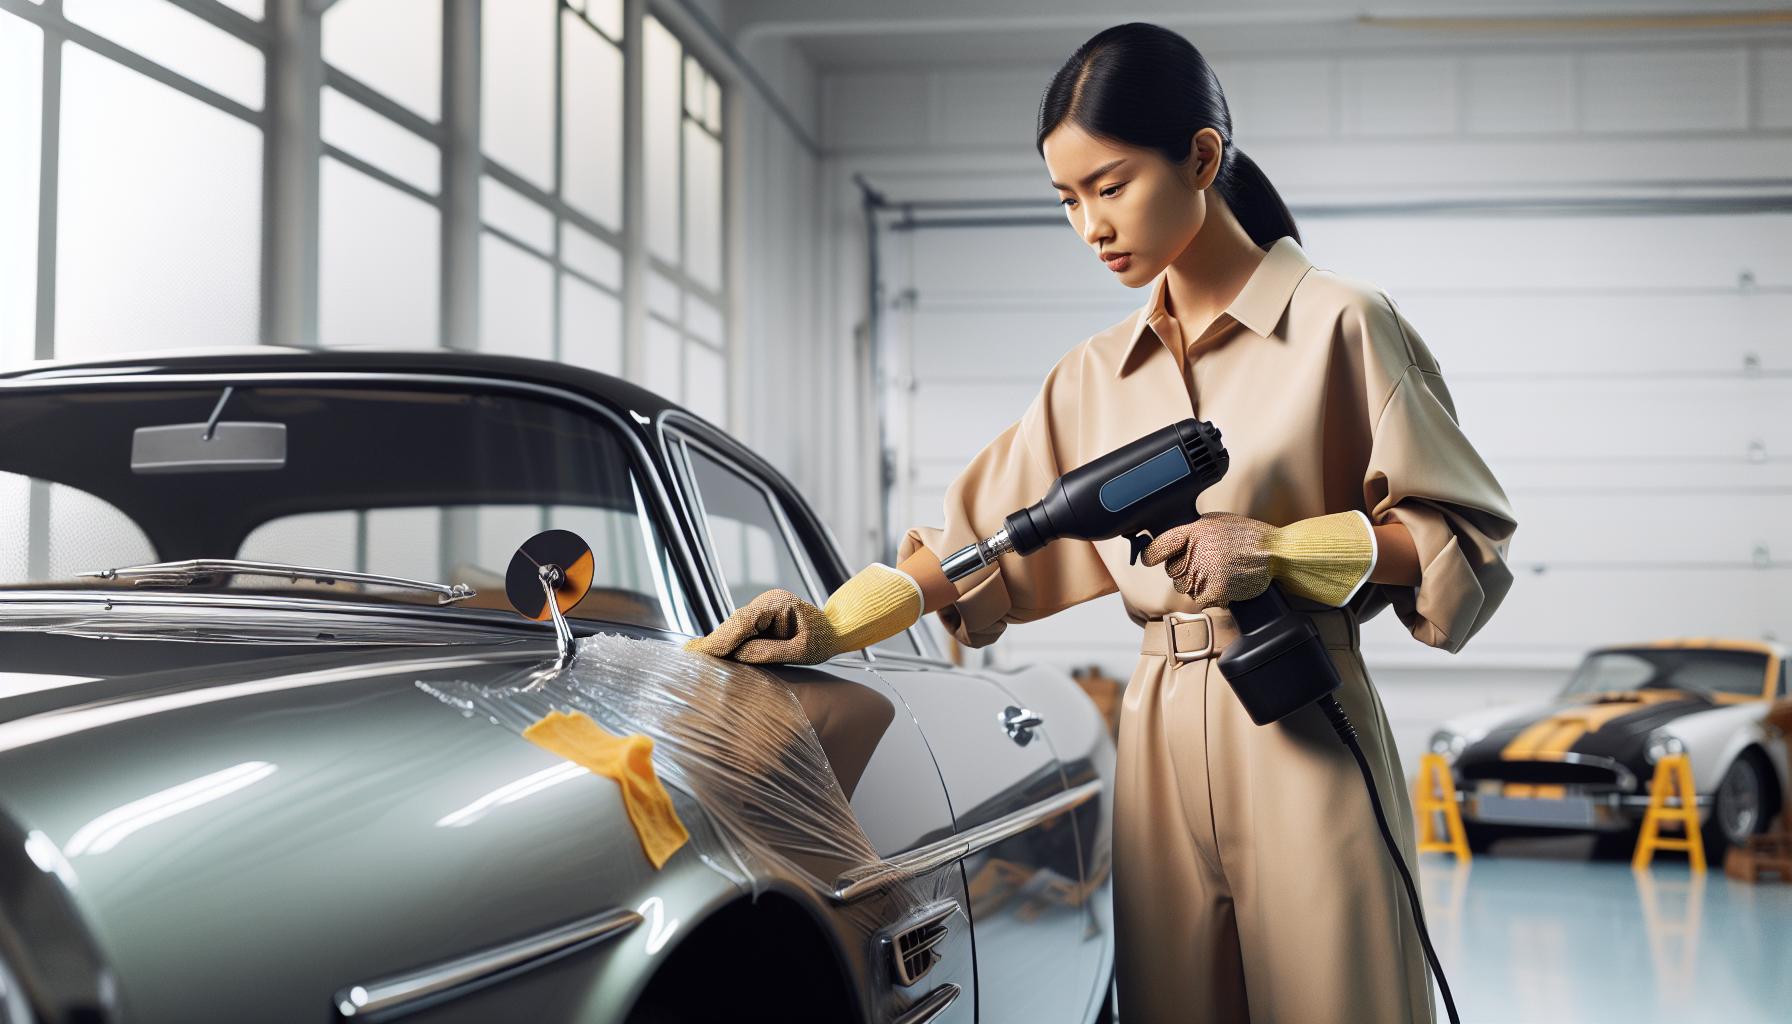
Using Heat To Remove Window Tint
Applying heat softens the adhesive, making the tint easier to peel off. I use a heat gun or a hair dryer set to high heat, holding it a few inches from the window. Starting at one corner, I heat the area for 20-30 seconds before carefully lifting the tint with a razor blade or fingernail. As I peel, I continue heating the film to loosen the adhesive as I go. This method works well with evenly applied heat and steady peeling, which prevents tearing.
Removing Tint With Ammonia
Ammonia effectively breaks down adhesives in older films. I spray ammonia generously on the inside of the window, ensuring full coverage of the tint. If using the sun method, I apply a layer of plastic wrap or a black garbage bag over the sprayed area to trap heat and speed up the process. Waiting 30-60 minutes, I check to see if the adhesive has softened and begin peeling the film from a corner. Ammonia fumes can be strong, so I work in a well-ventilated area while wearing gloves for protection.
Scraping Off Adhesive Residue
After the tint is removed, stubborn adhesive residue may remain on the glass. I use a razor blade or scraper at a low angle, paired with a spray bottle of soapy water for lubrication, to carefully shave off the glue. For smaller patches of residue, I apply rubbing alcohol or adhesive remover with a microfiber cloth, rubbing gently until the surface is clear. Cleaning the glass with paper towels or another clean cloth gives the windows a streak-free finish.
Tips For Successful Tint Removal
Use controlled heat generously. Direct a heat gun or hair dryer at the edges of the tint to soften the adhesive, making peeling smoother. Avoid overheating to protect the glass.
Apply steady pressure while peeling. Grip a corner of the tint firmly and peel at a consistent speed to minimize tearing. Remove large sections in one piece whenever possible.
Prepare the surface beforehand. Spray soapy water or an ammonia solution evenly over the tint to loosen the adhesive. This step simplifies residue removal after peeling.
Wear protective gear. Put on gloves to safeguard your hands from sharp tools or chemical exposure during the process.
Work methodically in sections. Focus on one window at a time to ensure thorough removal and avoid rushing the job, which could damage the glass.
Check for cleanup immediately. Inspect the windows after adhesive removal and wipe them with soapy water or rubbing alcohol. Use a microfiber cloth for streak-free results.
Common Mistakes To Avoid
Skipping surface preparation causes uneven tint removal and leaves adhesive patches. Always clean the windows first with soapy water or an ammonia solution.
Applying too much force damages the glass or defroster lines. Peel gently and use controlled pressure, especially near edges or heated areas.
Using the wrong tools results in scratches or ineffective adhesive removal. Avoid abrasive scrapers and use a razor blade or scraper designed for glass.
Neglecting protective gear leads to potential injuries. Wear gloves and keep a well-ventilated workspace to avoid skin or respiratory irritation.
Rushing through the process causes torn tint pieces and incomplete removal. Work in small sections to maintain control and ensure thorough cleaning.
Overheating weakens the glass integrity. Moderate heat application instead of excessive heat prevents damage while softening the adhesive efficiently.
Conclusion
Removing window tint might seem intimidating at first, but with the right approach, it’s totally doable. Whether you’re tackling it for safety, aesthetics, or legal reasons, taking the time to do it carefully can save you money and ensure your windows stay in great shape.
Patience and preparation are key. Having the right tools on hand and following a step-by-step process makes all the difference. It’s also important to avoid common mistakes and work methodically to get the best results.
If you’re ready to dive in, trust yourself and take it one step at a time. You’ll feel so accomplished once your windows are clean, clear, and looking their best!
Frequently Asked Questions
Why should I remove window tint?
Window tint may need removal if it’s peeling, bubbling, or faded, as these flaws can obstruct visibility and reduce UV and heat protection. Legal compliance, personal preference, or wanting to avoid fines for exceeding tint limits are also common reasons to remove it.
Can I remove window tint by myself?
Yes, you can remove window tint yourself with the right tools and patience. A heat gun or hair dryer, razor blade, soapy water, alcohol, and protective gloves are essential for a smooth and safe process.
What tools do I need to remove window tint?
You need a heat gun or hair dryer, razor blade or scraper, spray bottle with soapy water, adhesive remover or rubbing alcohol, microfiber cloths, and protective gloves. A garbage bag may also help if using the sun method.
What is the easiest way to remove window tint?
The easiest way involves using heat, such as a hair dryer, to soften the adhesive before peeling the tint. Follow up with a scraper and soapy water or rubbing alcohol to clean any leftover residue.
How do I use the ammonia method for older window tints?
Spray the inside of the window with ammonia and cover it with plastic wrap to prevent evaporation. Let it sit in the sun to soften the adhesive, then use a scraper to remove the tint and clean off any residue.
What are common mistakes to avoid during tint removal?
Avoid skipping surface preparation, peeling too aggressively, overheating the glass, or rushing through the process. Always use appropriate tools and protective gear to prevent damage to the glass or injuries.
How do I clean adhesive residue after removing window tint?
Use a razor blade or scraper with soapy water or rubbing alcohol to loosen and scrape off adhesive residue. Clean the window thoroughly with microfiber cloths to ensure a streak-free finish.
Can I damage my car window glass during the removal process?
Yes, using improper tools, peeling too aggressively, or applying excessive heat may damage the glass. Work carefully with controlled heat and appropriate tools to prevent scratches or glass damage.
Is professional tint removal necessary?
Professional tint removal isn’t necessary if you have the right tools and are patient. However, if you’re uncomfortable handling the process or if the tint is particularly stubborn, consulting a professional may be a better option.
How long does it take to remove window tint?
The time required depends on the tint’s condition and your experience. On average, removing the tint from a car window can take 30 minutes to an hour per window. Patience is key to achieving the best results.